the next year, one of the bad cats broke a really cool nativity i was fond of.
after that, i sort of stopped decorating for christmas. fast forward a few years, though, and i married M who loves to decorate for christmas! the first christmas we spent together was before the wedding, and we put up a tree at his house. by the next christmas, we were living in my house with a total of four bad cats. at M's insistence, we put up a tree. fortunately the cats never knocked this one completely over, though it tilted at times, but we had problems with tree climbing and ornament removal and breakage.
the next two years we didn't put up a tree. last year M seemed so sad about it, though, that while he was away on business, i bought one of those tall, skinny trees that looks more like a real tree, with a "log" for the trunk. i downloaded and printed off a ton of free printables, punched holes and strung baker's twine to make ornaments, glued garlands together, and surprised him with my decorating when he got home. while occasionally an ornament would disappear from the tree, at least there couldn't be any breakage! nonetheless, miss kitty and hitler liked to chew on the tree and eat the "needles." i couldn't hardly keep them away!
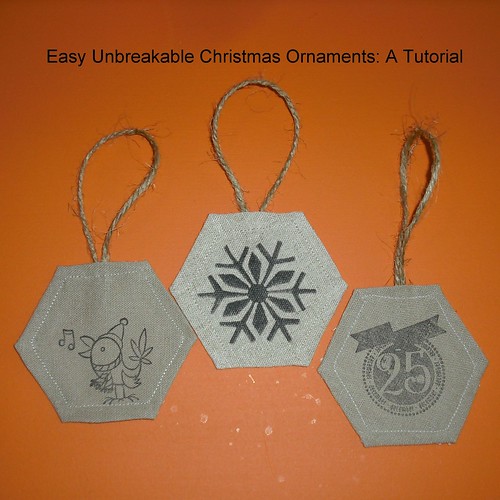
a few nights ago, while making some fabric gift tags inspired by those in jacey's tutorial, i came across some plain linen hexies i'd whipped up and realized i could adapt her tutorial to make some cute, easy and unbreakable ornaments! my tutorial is also available over at the Houston Modern Quilt Guild blog today.
first, gather your materials. for each ornament, you will need the following:
- 4" square of linen or solid neutral cotton
- 4" square of christmas fabric
- 4" square fusible interfacing
- 4" piece of twine or ribbon
- ink for stamping ( i prefer StazOn brand)
- a foam or rubber stamp of your choice
- paper in hexagon shape, 1 1/2" per side

next, trace hexie onto your linen or kona solid fabric, then cut out leaving at least 1/4" around outline.
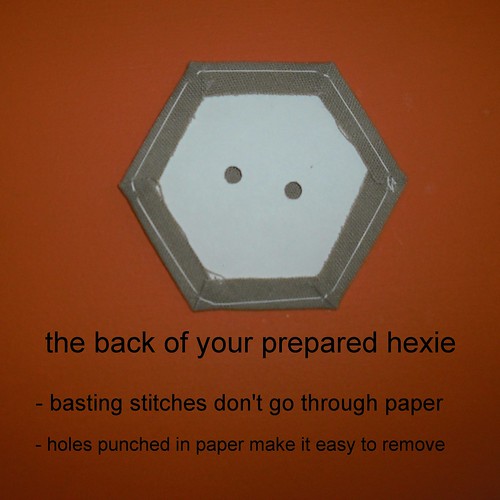
prepare your linen hexie like this. note that i punch a hole or two in my paper hexie to make the paper easier to remove - you can just use the end of a pencil or chopstick to pop it right out!
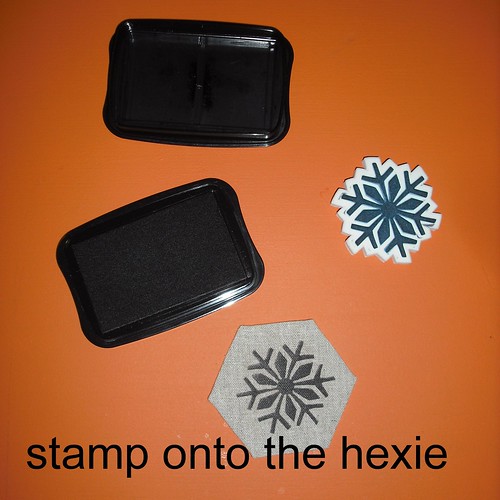
now give your hexie a good press with a hot iron. next, use your ink and stamp to stamp a design directly onto the fabric. then press again, and pop out the paper hexagon. press once more for good measure!

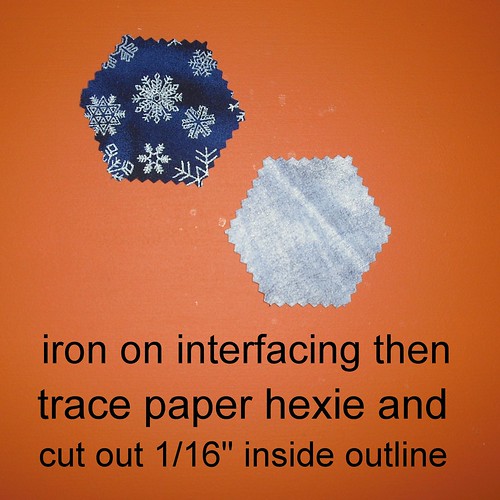
next, iron your fusible interfacing onto your print fabric. using the paper hexie you removed from the stamped hexie, trace it onto the interfaced print fabric and cut out 1/16" inside the outline using pinking shears or a wavy rotary cutter blade.
then take your twine or ribbon, fold it in half, and layer the cut ends between your stamped hexie and your other hexie, with the wrong sides of the hexies together.
sew 1/8" from edge around all six sides of the hexagon, making sure your twine or ribbon hanger is positioned properly.
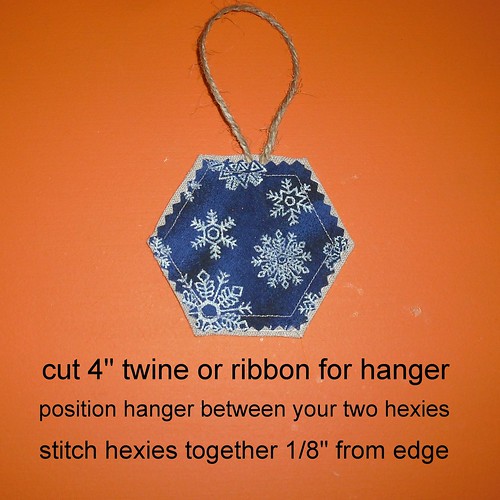
trim your threads, and you have a finished ornament!
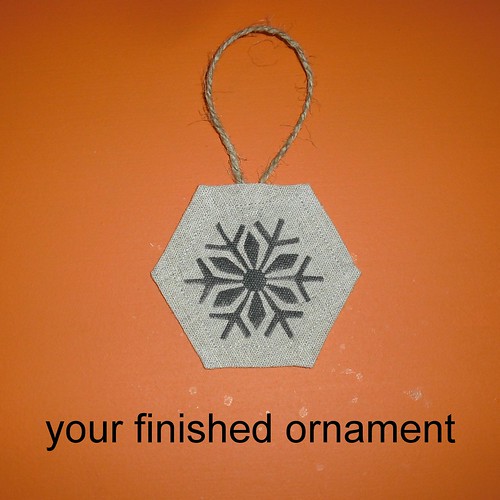
these whip up super quick, especially if you make a handful at a time and i found i could make five or so in less than half an hour. they could also be used as cute package trims or tags, too!
enjoy!
1 comment:
I'm all about an unbreakable ornament. Did I ever tell you about Olias knocking the tree over the first year? Classic.
See you Saturday!
Post a Comment